The Ranchers Early Progression Guide: Your First Week Checklist
Maximize your first in-game week in The Ranchers Early Access with our day-by-day progression checklist. Learn how to manage stamina, build your base, and start farming.
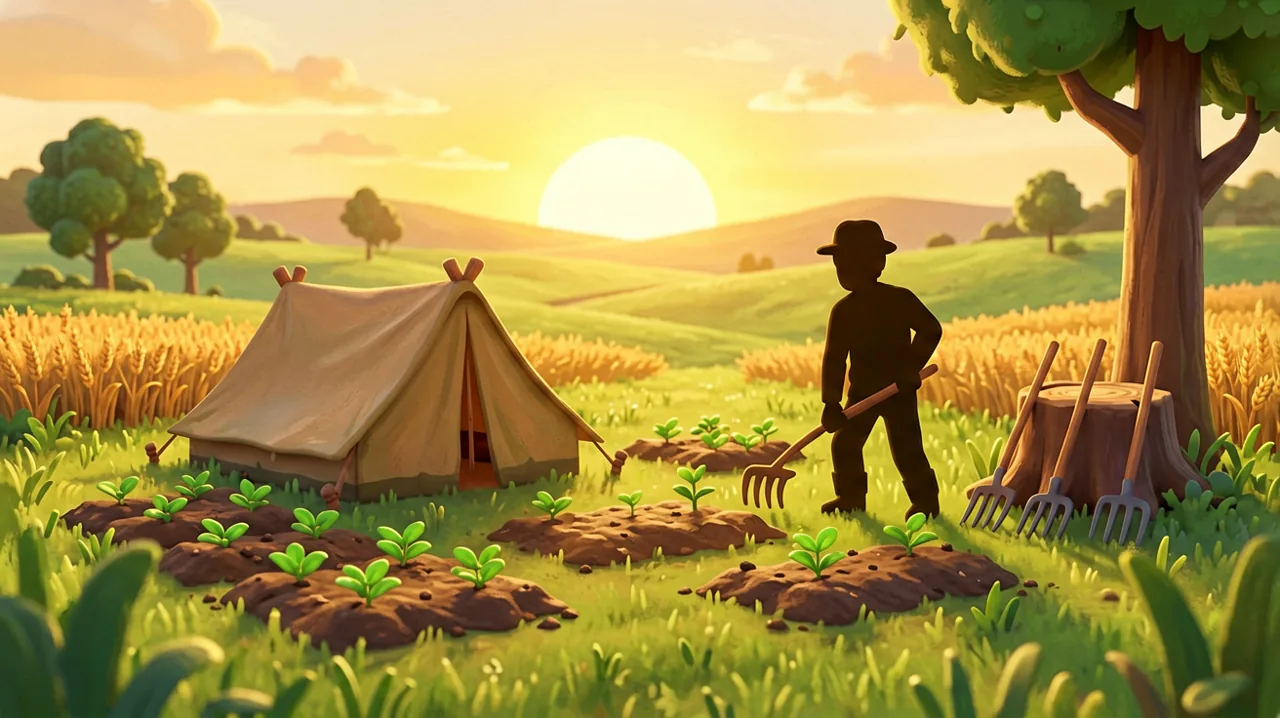
Starting a new life in the countryside can be incredibly overwhelming, especially in a simulation game as mechanically expansive as The Ranchers. Developed by RedPilz Studio and published by Trophy Games, this open-world farming and life simulation game officially entered Early Access for PC, macOS, and Linux on July 30, 2026. Whether you are tackling the countryside solo or teaming up in up to 4-player co-op, your initial days on the farm lay the crucial groundwork for your entire playthrough.
Unlike more confined traditional farming sims, The Ranchers drops you into a massive, seamless open world where time, inventory space, and stamina are your most valuable resources. Wasting early days wandering aimlessly can delay your progression significantly, pushing back important milestones like building your first customized house, acquiring your first vehicle, or exploring the deeper sections of the mines.
The following is a comprehensive, day-by-day checklist for your first in-game week. By following this progression route, you will establish a sustainable daily income, secure basic crafting materials, and position yourself to fully explore everything the game has to offer. Note that because the game is currently in its Early Access phase, specific material costs, crop yields, and NPC schedules are reportedly subject to change as the developers release ongoing hotfixes and community-driven balance updates.
Day 1: Arrival and Survival Basics
Your very first day on the property is all about establishing a foothold on your completely overgrown plot of land. When you first arrive, your sprawling real estate will be heavily littered with weeds, rocks, fallen branches, and wild trees blocking your path.
Checklist:
- Pitch Your Tent Immediately: Before doing anything else, find a clear, flat spot near a water source to set up your starter tent. This acts as your initial spawn point and allows you to sleep and save your progress at the end of the day. Placing it near water will save you time later when you need to refill your watering can.
- Clear Immediate Space Only: Do not attempt to clear the entire farm. Your starting stamina bar is incredibly limited, and trying to chop down large trees on day one will leave you exhausted by noon. Focus strictly on clearing a modest 5x5 or 10x10 area where you plan to plant your very first batches of seeds.
- Forage for Energy Recovery: Keep an eye out for wild berries, mushrooms, and edible flora scattered around the grassy edges of your property. Eating these raw will restore small amounts of stamina, allowing you to chop a few extra logs or break a couple of additional stones before being forced to rest.
- Craft a Basic Storage Chest: Inventory management is a known hurdle in the early hours of the game. Gather enough loose wood and fiber to craft a basic storage chest before the sun goes down. You will absolutely need a secure place to store excess sap, fiber, seeds, and stone so you are not completely encumbered when you wake up the next morning.
Day 2: Soil, Seeds, and Water
With a small workable area cleared of debris, your second day should focus heavily on getting your agricultural economy off the ground.
Checklist:
- Visit the Town Market Early: Head into the main village early in the morning. Navigate the town map to locate the general store or the local seed vendor. Purchase short-growth, high-yield starter seeds (such as radishes, lettuce, or their early-season equivalents). Keep a little bit of cash on hand for emergencies.
- Till and Plant Properly: Return to your farm and use your basic hoe to till the soil in the area you cleared on Day 1. The grid-snapping system makes it easy to create neat rows. Plant your newly acquired seeds immediately to ensure they get a full day of growth tracking.
- Establish a Strict Watering Routine: Watering your crops is a mandatory daily task until you can gather enough resources to craft automated sprinklers or basic water pumps. Fill your watering can at the nearby river, lake, or well. Be mindful of your stamina drain; watering a moderately large plot can drain half your energy before the afternoon hits.
- Scout the Surrounding Map: Once your crops are watered and your stamina is running low, spend the rest of the afternoon exploring the map without swinging any tools. Familiarize yourself with the winding dirt paths leading to the town center, the distant beach, and the nearby dense forested areas.
For more specific details on crop rotations, profit margins, and seasonal agricultural planning, check out our Farming and Crops overview.
Day 3: Networking and Town Side Quests
Farming and manual labor only make up one half of the experience in The Ranchers. Building strong relationships with the locals and taking on odd jobs is crucial for early financial progression and unlocking advanced crafting blueprints.
Checklist:
- Meet the Key Villagers: Spend the day properly introducing yourself to the townsfolk. Prioritize finding the local blacksmith (crucial for tool upgrades), the carpenter (who holds the blueprints for building expansions), and the town mayor. Understanding their store hours will save you from making empty trips to town later.
- Check the Community Bulletin Board: The main town plaza features a central bulletin board where NPCs post daily requests. Pick up simple delivery or item-gathering quests. Completing these provides a much-needed cash injection and slowly improves your social standing with the community.
- Investigate Early Vehicles: Navigating the massive open world on foot is painfully slow in the early game. Visit the local dealership or mechanic shop. While a heavy-duty pickup truck or an off-road ATV is definitely out of your budget right now, you might be able to afford a basic bicycle or a motorized scooter soon. Check the exact price tag so you know exactly what financial goal to save for.
If you want to know more about the different modes of transportation across the open world, read our Vehicles and Travel breakdown.
Day 4: Hard Resources and Tool Upgrades
By Day 4, you should be settling into a steady morning routine: wake up, water crops, forage for a quick breakfast, and head out. Now, it is time to focus on securing harder materials and upgrading your rusty starting tools.
Checklist:
- Target Hardwood and Stone Deposits: Venture slightly further from your safe farm zone into the dense woods or rocky outcrops. You need to begin stockpiling standard wood, hardwood, and heavy stone blocks for upcoming major construction projects.
- Upgrade Your Pickaxe or Axe: If you have gathered enough raw copper ore (often found in exposed surface nodes or very shallow cave entrances) and saved enough money from completing side quests, take your most-used tool directly to the blacksmith. Upgrading your watering can saves massive amounts of stamina per pour, while upgrading your axe or pickaxe speeds up resource gathering and lowers the hit count required to break large objects.
- Repair the Local Bridge or Path: There are often broken wooden bridges or debris-blocked paths near your farm that prevent access to specialized foraging areas. Check the repair costs—usually requiring a sizable stack of wood and stone—and try to clear one of these blockages to open a brand-new shortcut to the town or the beach.
Day 5: Entering the Mines and Basic Combat
With slightly better equipment and a good grasp of the stamina mechanics, you are finally ready to tackle the game’s combat system and underground mining networks.
Checklist:
- Prepare Ample Provisions: Do not step foot into the local mines with an empty stomach or zero healing items. Cook basic meals if you have unlocked a simple campfire, or bring a large stack of high-quality foraged berries. You will absolutely need both health and stamina restoration down there.
- Descend the First Few Mine Levels: The early, upper levels of the mines are filled with basic ores like copper and tin, alongside low-level hostile creatures such as oversized bugs or basic slimes. Focus entirely on gathering exposed ore veins rather than fighting every single enemy that spawns. Combat drains stamina quickly, so engage only when cornered or defending a valuable node.
- Build Your First Smelter: Once your inventory is full and you return home, use your newly acquired stone and raw ore to craft a furnace or smelter. Process your raw copper ore into metal bars overnight. These refined bars are the absolute backbone of crafting machines, batteries, and higher-tier equipment.
For a thorough explanation of spelunking, enemy attack patterns, and weaponry, our Mining and Combat guide has you covered.
Day 6: Preparing for Livestock
Your very first batch of crops is likely nearing full maturity, and you should be looking toward setting up your next major revenue stream: animal husbandry.
Checklist:
- Clear a Designated Pasture: Dedicate a specific, flat area of your farm entirely for animals. Clear away rocks and logs, but deliberately leave the wild tall grass intact, as this will serve as natural feed for your future livestock.
- Gather Construction Materials: Check the carpenter’s specific blueprint requirements for a basic chicken coop or a small animal barn. You will typically need a large amount of processed wood, a handful of metal bars, and a hefty sum of cash for the labor. Start depositing these materials into a nearby chest so they are ready to go.
- Craft Basic Wooden Fencing: To keep your future animals safe from wandering off and to prevent them from trampling your fragile crops across your entire property, craft and place simple wooden fences around your designated pasture area. Make sure to leave a gap for a gate.
Learn more about feeding, breeding, and managing cows, chickens, pigs, and horses in our extensive Animals and Ranching overview.
Day 7: The First Harvest and The Auction House
The end of your first full week culminates in your first major payday. Your quick-growing starter crops should finally be ready for harvest.
Checklist:
- Harvest and Sort by Quality: Gather all your mature crops carefully. Decide what to keep in your storage (for emergency energy, future cooking recipes, or NPC gifting) and what to sell. Quality modifiers apply to harvested goods, so separate your high-quality produce from the standard variants.
- Visit the Auction House or Trade Guilds: While you can easily use the standard wooden shipping bin on your farm for quick cash, The Ranchers features a dynamic economy and an Auction House system. Selling directly to merchants in town or listing high-quality items at the Auction House might reportedly yield substantially better profit margins than the baseline shipping bin prices.
- Reinvest Your Earnings Immediately: Do not hoard your initial profits. Reinvest the money immediately into a much larger batch of seeds for Week 2, a backpack inventory slot expansion (which is crucial for longer, deeper mining trips), or finalizing the purchase of your very first animal enclosure from the carpenter.
Setting Up for Week Two
Surviving and thriving in your first week sets the tempo for your entire playthrough in The Ranchers. As you move into Week 2, your goals will begin to shift drastically from basic survival to automation and physical expansion. You will begin looking into establishing power grids using windmills and solar panels, upgrading from a fragile tent to a fully customized wooden house, and perhaps even coordinating complex farm tasks in co-op sessions with your friends.
Remember that Early Access is a highly fluid experience. The development team at RedPilz Studio is actively monitoring player feedback and community reports. Core game mechanics like stamina drain rates, crop profitability, weather behavior, and enemy combat difficulty are highly expected to receive balance tweaks over the coming weeks and months. Stay flexible, keep your fields watered every morning, and enjoy the rewarding journey of building your dream life in the countryside.
For more foundational strategies on mechanics we didn’t cover here, do not miss our Beginner Tips article, and keep checking back with our wiki for the latest news and guides on this incredible open-world simulator.